This tutorial will show you how modify the SketchUp workspace and style so that the linework from an imported DWG file looks the same as it did in AutoCAD.
Software Required: SketchUp Pro
Time Required: 5-10 Minutes
Difficulty: Easy
Here is what the original drawing I’m using for this example looks like in AutoCAD.
Step 1
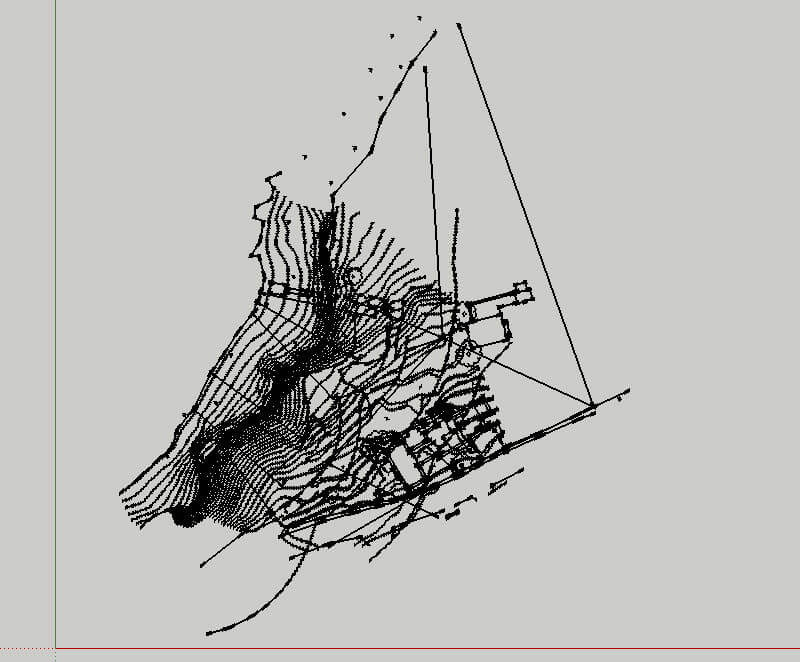
Import the dwg drawing into SketchUp. Below is what the drawing looks right after the import; not very appealing.
Step 2
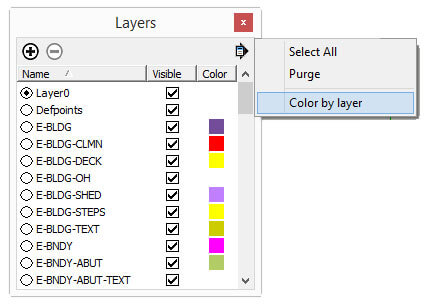
Open up the layers panel, click the black menu/arrow under the close button, and select color by layer.
Step 3
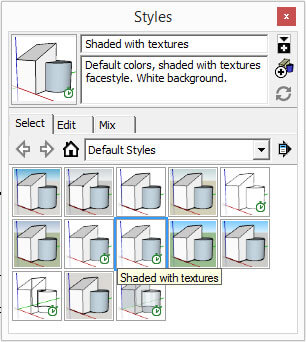
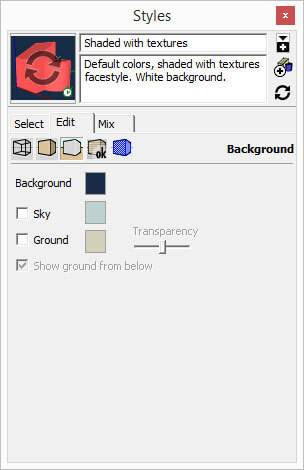
Open up the styles panel, and make the following adjustments: Select the “Shaded with Textures” style in the default styles group.
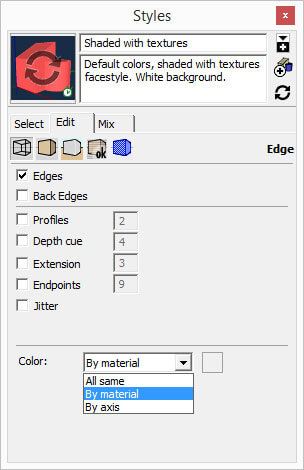
Click the edit button above the house in the styles panel, and make sure you’re in the edge settings (left most of the 5 boxes). Set the color to “By Material”.
Then jump over to the background settings (middle of the 5 boxes), and change the background to match the background color in AutoCAD. This is so lines that are set to white will stand out against the background.
If your lines haven’t change color, trying toggling the color by layer in the layers panel.
That’s it. Your line color and background should match your AutoCAD workspace. The only differences is that SketchUp can’t import hatches, text, or line thickness or line types.

