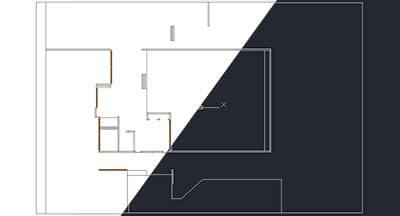
This tutorial will teach you how to apply a gradient image to imported terrain in SketchUp, in order to create the effect shown below.


Time Required: 15 Minutes
Difficulty: Moderate
 1. The first step involves creating the gradient image. I used Photoshop to create mine, but any image off the internet will work. I used a grayscale image for one example, and an earth-toned version for the other. Keep in mind that one end of the image will represent the lowest terrain elevations, while the other the highest. The higher the resolution, the smoother the end result will be.
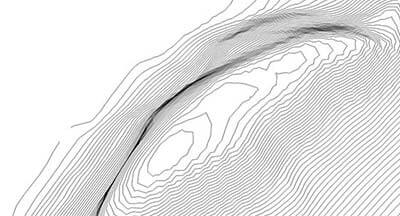
2. In the next step, we have to bring some terrain into our SketchUp file. In this example, I grabbed a section of Mt. Washington, in New Hampshire. With the terrain imported, draw a vertically-oriented rectangle that stretches from the lowest elevation of the terrain to the highest, to ensure that all the geometry will be covered by the image. Then import the gradient image (File > Import > select the image, but make sure “Use as texture” is selected in the options), and apply it to the rectangle by clicking on its surface.


Use the four pins to stretch the image to fill the rectangle (start with the red, then green, and then blue).
 3. After the image is positioned correctly, right click on the surface, navigate to texture, and click on projected. This will project the image infinitely on either side, and if positioned correctly, will completely cover the imported terrain.
4. Select the surface of the terrain, and then bring up the materials panel. Select the eyedropper and click on the vertical rectangle with the gradient painted on it. After the gradient texture has been selected, click on the terrain to paint it. You can see that colors painted on the terrain corresponded to the texture on the rectangle, because it is being projected outwards.


5. Repeat this process with any image of your choosing.
You might also like